By cultivating potatoes on our plots, we strive to get a high yield. For this we apply fertilizers, take care of the plantings, but the result is often disappointing. Therefore, many gardeners prefer growing potatoes according to some popular method that has proven itself over the years. For example, the well-known Dutch technology, which does not require special costs, but shows excellent results. But in order to achieve them, you need to follow the rules and know the features of this method.
Content
Basics of Dutch potato cultivation technology
As you know, the Netherlands is a small country with little arable land. However, the Dutch managed to establish potato cultivation in such a way that the technology quickly gained popularity throughout Europe.
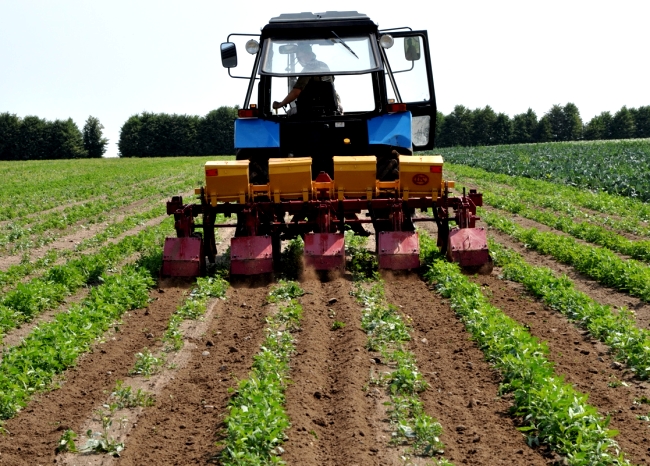
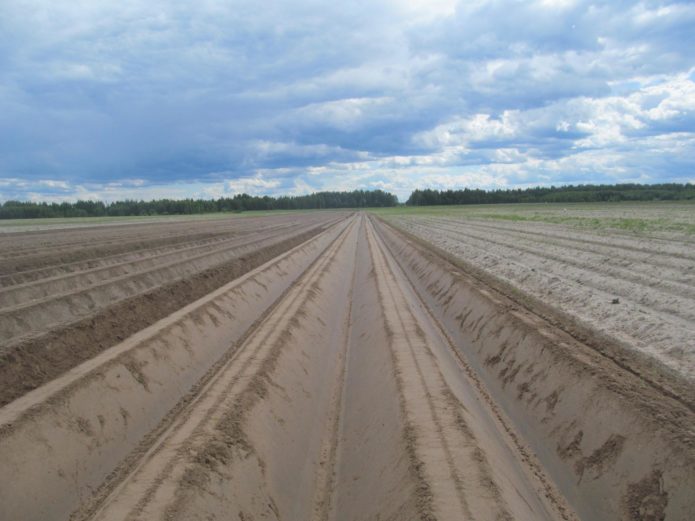
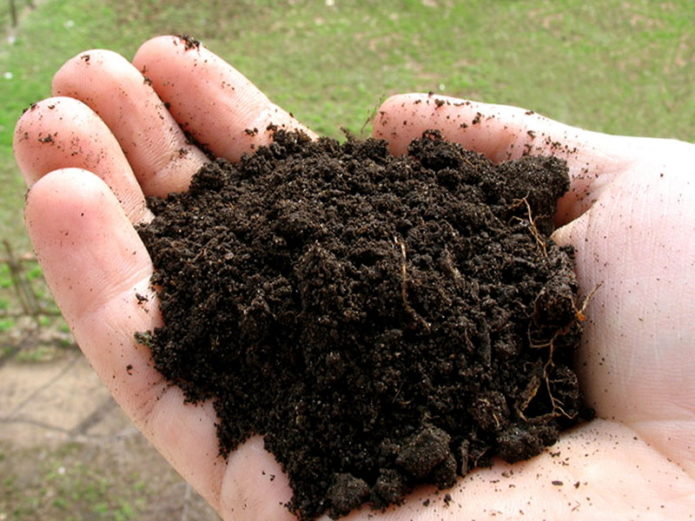
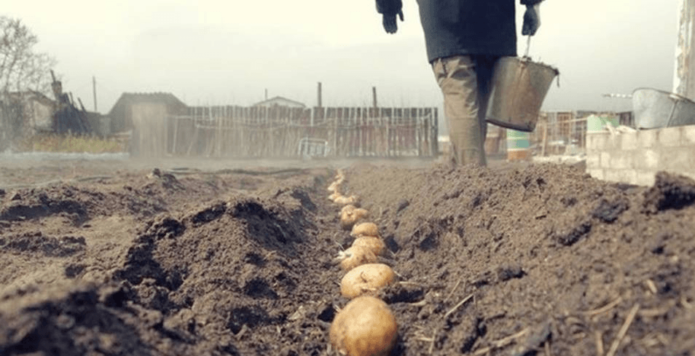
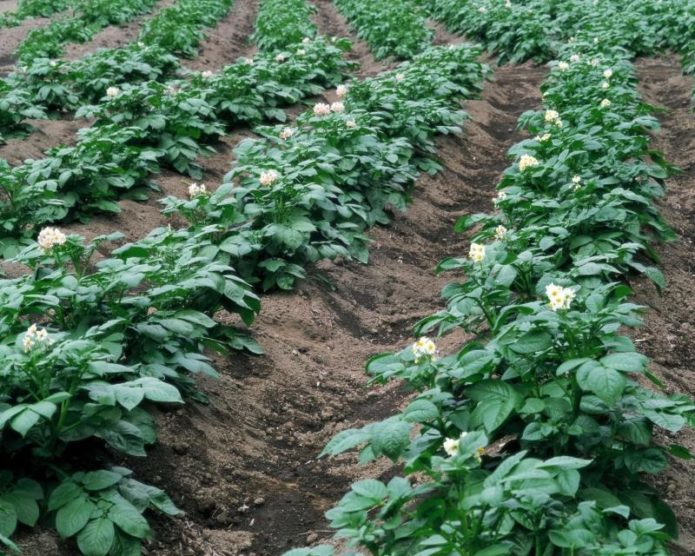
The peculiarity of the technology under consideration is that the seed tubers are not planted in the holes, but ridges are formed above them. If potatoes are planted deeper than 10 cm, they may subsequently not receive the required amount of oxygen and heat. In addition, there is a risk of water stagnation in the aisles, which will cause root crops to rot. When implementing the Dutch method, potatoes are laid inside a shallow furrow and sprinkled on top with well-loosened soil or compost. While the bush is growing, earth is added to the ridge. Thanks to this, there are no obstacles to air circulation in the ground and excess moisture does not stagnate.
High yields will help to achieve strict adherence to the rules of agricultural technology at any stage of the growing season. The technology is based on providing the soil with a sufficient amount of oxygen (aeration), correct crop rotation and a certain arrangement of bushes. As a result, you can get 2-3 kg of tubers from each plant. The sequence of actions when implementing the method is as follows:
- The choice of planting material.
- Soil preparation taking into account crop rotation.
- Planting tubers according to a certain scheme.
- Plant care: fertilization, hilling, watering.
- Harvesting.
Pros and cons of Dutch technology
| Advantages | disadvantages |
| Quick harvest thanks to the use of medium early potato varieties | Growing potatoes according to the Dutch method requires a lot of effort from the farmer throughout the vegetative period, special attention should be paid to preparatory work. |
| The most intensive tuber formation on each bush | The complexity of compliance with the crop sowing turnover in small summer cottages |
| Correct shape and more attractive appearance of the vegetable | A denser planting due to space saving reduces the effectiveness of the method |
| A gardener can make a mistake when purchasing planting material - some experience is needed to buy an elite variety | |
| Consistency of taste characteristics during storage | The summer resident's lack of the ability to clearly adhere to the timing of all the necessary manipulations |
Recommended potato varieties
Given the fact that the Dutch method was developed for a specific region, it is very important for its application to follow the recommendations for choosing potato varieties. In the Netherlands, varieties have been bred that are resistant to diseases and adverse environmental influences, the most suitable for use as seed. Of these, the following have become popular in Russia:
- Impala is an early ripening variety that yields a harvest 50 days after planting. It grows well both in the middle lane and in Siberia. In the southern regions, taking into account the mild warm climate, you can get two crops in the summer season.
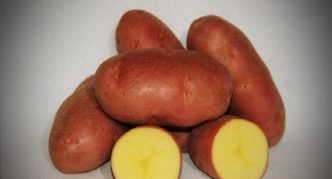
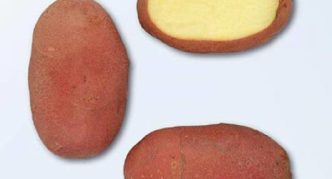
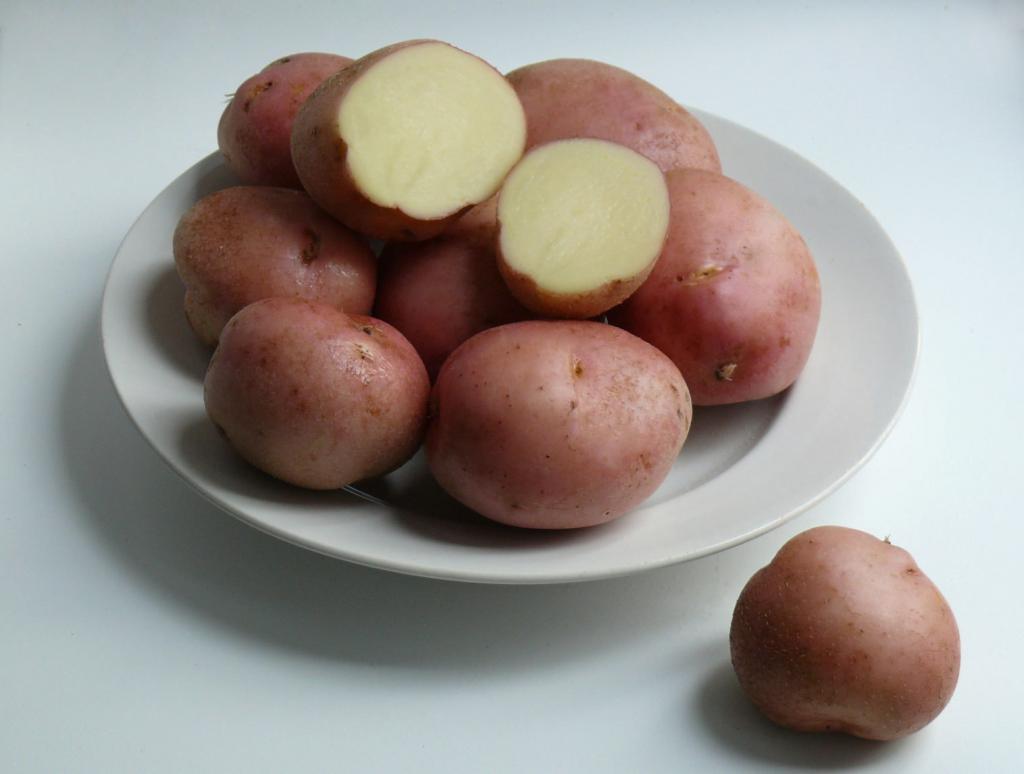
- Red Scarlett is an early variety. A distinctive feature is the red color of the skin and white flesh, which does not darken when damaged or heated.
- Prior is an early ripening variety. Differs in resistance to viruses, late blight and nematode.
- Cleopatra is an early variety. Practically undemanding to the composition of the soil (grows well in sandy and clayey soil). Susceptible to scab infestation.
- Jarla is an early variety. It is so unpretentious that it can grow even in depleted soil.
- Mona Lisa is a mid-early variety. High yield, resistance to various diseases.
- Frisia is a mid-season variety. Not affected by viral diseases.
- Eba is a medium late variety. The tubers are yellow. Resistance to viral diseases.
- Asterix is a medium late variety, tubers are perfectly stored until next season.
Domestic breeding also offers several varieties suitable for growing according to Dutch technology.
- Nevsky is a medium early variety with a very high yield, resistant to most diseases. It is recommended to store tubers at a temperature of about 0 ° C, as they start germinating early when exposed to heat.
- Zhukovsky early - early ripening variety. The tubers are very tasty, but due to the low starch content they do not boil over. High-yielding and disease-resistant.
- Luck is an early ripening variety. The flesh is white, the rind is yellow. Resistant not only to all diseases, but also to mechanical damage.
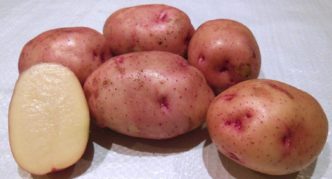
- Peter's Riddle is a mid-early variety. The flesh of the tubers is creamy, the skin is pink. Stores well until next season. The yield is high. The variety is very popular in the Northwest region.
- Zdabytak is a late variety. Differs in resistance to various diseases and a high starch content in tubers.
Buy seed only in special stores and breeding farms that can provide you with a quality certificate. Otherwise, you may not get the expected harvest even with full compliance with the rules of agricultural technology.
Note! Be sure to check the breeding characteristics of seed potatoes. Certain varieties are only suitable for large-scale cultivation on an industrial scale. You need versatile ones that are applicable to small beds.
Photo gallery of potato varieties recommended for growing according to Dutch technology in our latitudes
- Dutch medium late Asterix
- The Zhukovsky early variety is high-yielding and resistant to all diseases
- Potatoes The riddle of Peter of domestic selection persists for a long time
- Potatoes Zdabytak, originally from Belarus, belongs to the late varieties
- Impala is an early ripening variety from Holland that is successfully cultivated even in Siberia
- The Russian potato variety Nevsky has a high yield
- The Dutch variety Prior is resistant to the most common potato diseases
- An early ripe potato variety Luck was bred by domestic breeders
- Red Scarlett variety from Dutch breeders differs in pleasant red color of the peel
- Jarla - early variety from Holland
Landing rules and features
After you decide on the choice of a variety, proceed to the study of agricultural technology. There are no unnecessary points in this matter: you must strictly follow each step.
Requirements for the site, its preparation
Choosing a suitable landing site is one of the most important conditions in Dutch technology. Potato rows must be placed on level ground without a slope, otherwise the water regime will be violated... This, in turn, will cause the ridges that you have formed to slide and shed.
Soil type is equally important. Its upper layer should contain at least 2–2.5% humus. If the soil is poor or depleted, it should be improved by adding organic fertilizing: humus, cow dung, herbal infusion.
Consider the need for crop rotation. Potatoes grown for several years in a row on the same plot deplete the land, which leads to an increased risk of contamination of tubers with various diseases. To eliminate this, a crop change is recommended: potatoes can be returned to this area at least 3 years after the previous cultivation. Before this, the land must be sown with cereals such as rye, wheat or oats.
Tillage in autumn
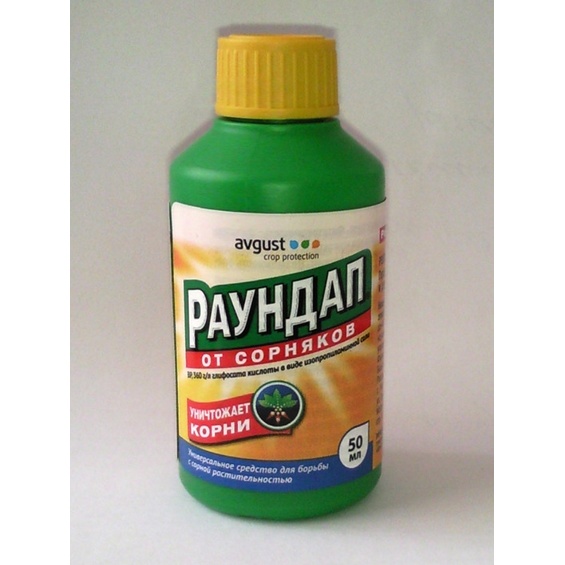
Plow the area so that the plowing depth is about 25 cm, or dig it by hand to the height of the spade bayonet. Remove all weeds at the same time. To do this, you can use herbicides, for example, Roundup, from which the weed will die and decompose in 3-4 weeks.
Apply semi-rotten manure or mature compost (5 kg of substance per 10 m²) to the soil... Mineral feeding will also be useful: 0.5 kg of superphosphate and 0.2 kg of potash fertilizers for every 10 m² of the area.
Spring soil treatment
For planting in the field, the soil is plowed up using a cultivator cutter.For a garden-type plot, you need to loosen the soil to a depth of no more than 15 cm. It is most convenient to do this with a pitchfork. Thus, the air chambers located in the deep layer of the earth will not be disturbed, which will allow air and water to flow freely to the roots.
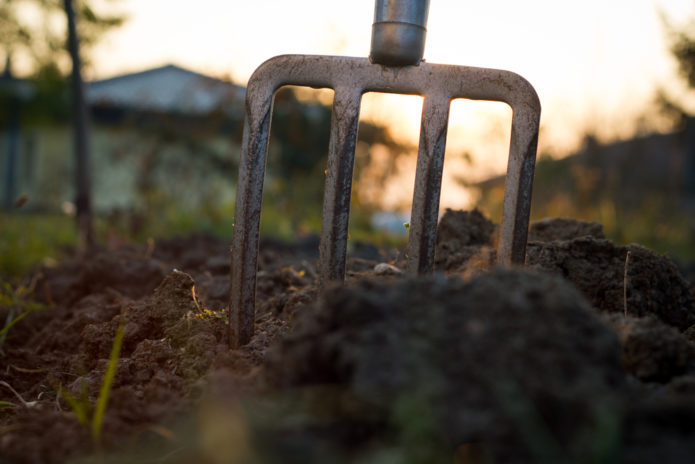
It is better to loosen the soil with a pitchfork to provide better access of air and moisture to the roots.
Do not close or compact the loosened soil: it needs to dry out and warm up well.
When loosening, it will be useful to apply nitrogen fertilizers.
How to prepare seed
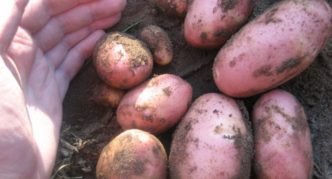
Choose tubers with a diameter of about 5 cm, weighing up to 70 g, belonging to the category "elite" or "superelite"... Smaller seed will not produce good, strong shoots. Larger tubers can only be used if they are seeds from your previous crop. Please note that there should be no damage to the seed potatoes.
To ensure 100% germination, you need to plant sprouted tubers, moreover, they should have 5 or more eyes on them. If it is supposed to be planted by a mechanized method, the length of the shoots can be no more than 0.5 cm, otherwise they will break. With manual sowing, the sprouts should be 2-3 cm.
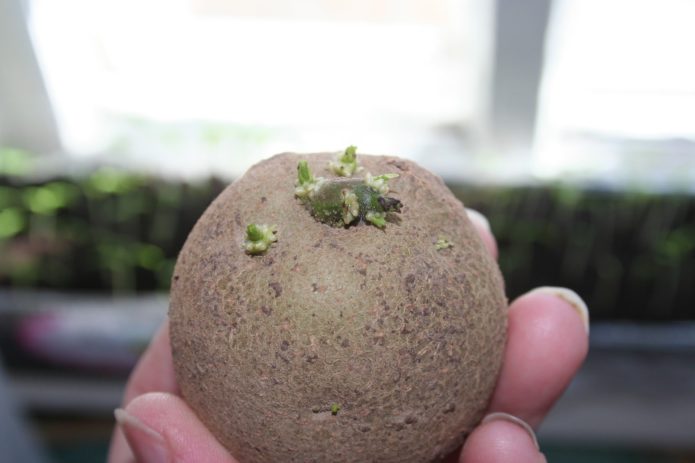
It is important to select for sowing potatoes of the right size, correct shape and with sprouts of the right length
It must be remembered that over time, any variety will lose its breeding and commercial qualities. When grown for several years in a row, yield and resistance to scab, rot, late blight decreases. Therefore, it is necessary to change the variety at least every 5 years, and ideally every 3-4 years.
When to plant potatoes
Most often, the timing of planting is guided by the characteristics of the climate in a particular region. In the case of Dutch technology, the main thing to consider is how ready the soil is. It should be warm and dry enough. You can easily check it yourself. Take a clod of earth and throw it from a height of about 1 m. If it crumbles, it is a sign that the soil is already ripe for planting potatoes.
In the southern regions, this period begins closer to mid-March, the further north your region - the later. Taking into account that potatoes love warmth, and it is not recommended to plant them in poorly heated soil, sometimes it is better to wait until the end of April or early May. However, drying out of the earth must also not be allowed: it leads to a violation of the aeration and drainage regime. Therefore, soil preparation must be carried out immediately before planting.
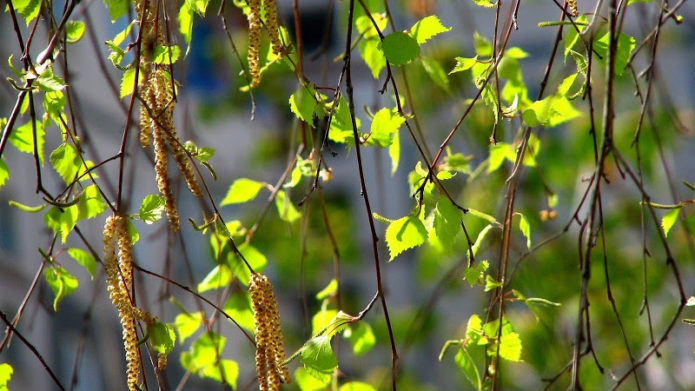
According to an old tradition, when buds bloom on birches, you can safely plow the land for planting potatoes
Landing scheme
When you first start planting potatoes using the Dutch method, you might think that too much space will remain empty, since only 6-8 tubers are used per 1 m²... In fact, with this distribution of seed, the bushes grow large, spreading, their root system develops much better than with the usual method of planting, and as a result, the yield becomes much higher.
- Loosen the soil with a shovel, rake, or cultivator. Place the rows so that they are directed from north to south. The intervals between them should be 65–75 cm; the required depth of the furrow is 4–8 cm. The bottom of the furrow can be laid with a small layer of onion husk: this way you will protect the planting from slugs and wireworm larvae. Spread out the tubers, keeping a 30 cm gap. Sprinkle each potato with a handful of fresh compost or wood ash.
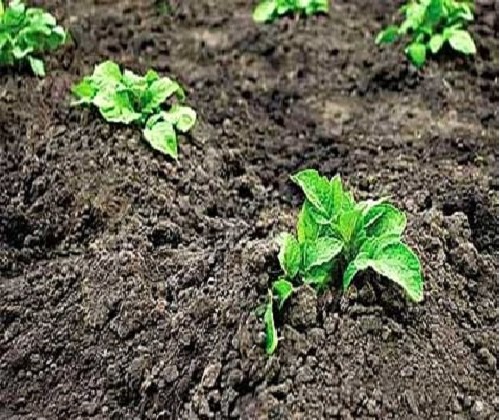
- Close the furrows by filling them with ridges of soil 10 cm high and 35 cm wide.Over time, you will need to add earth.
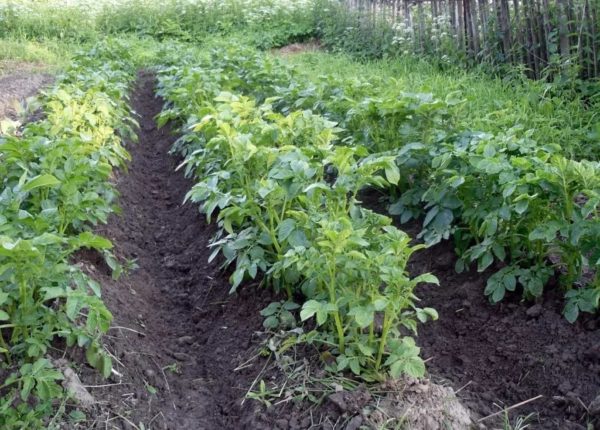
- 4 weeks after emergence, the furrows should be increased to 25 cm in height and 75 cm in width.
- The grown bushes will need regular loosening of the soil, trimming crumbling shafts if necessary and treatment from growing weeds and pests.
Such large intervals between ridges in the considered planting scheme have several advantages.
- Hilling rows, you take the land from the aisles. Thus, the tubers are always at a fairly high level, while the ridges are always well warmed up by the sun, and the roots are provided with oxygen.
- The cross-sectional area of the ridge is from 1200 to 1500 cm². This is enough for the bush to be provided with food.
- With prolonged rains, moisture flows down into the row spacing, so the bushes and roots do not get wet.
- A sufficient amount of water accumulates in the ridge so that even with prolonged drought, the plant does not experience a lack of moisture.
Features of caring for planted potatoes
Using Dutch growing technology, plant care must be carried out consistently.
- After 2 weeks, noticeable weeds will appear in the aisles. Remove them, and immediately add soil to the ridges. Loose soil will encourage the growth of the bush, since it will be easier for air to reach the roots, and excess moisture will go into the ground.
- To prevent further germination of weeds, treat the aisles with herbicides. You also need to spray the bushes with agents against diseases and pests. Since the effect of the drugs lasts about two weeks, about six such treatments will be needed throughout the growing season.
- Water only during the established periods according to the scheme: the first - before full-fledged buds begin to tie on the bushes, the second - 10 days after the flowers shedding, the third (last) - after another 3 weeks.
Note! You can use chemicals for protective spraying of potato bushes only before the budding period begins. After the beginning of flowering, such processing is strictly prohibited.
How to treat plants from weeds, diseases and pests
When the potato plantings germinate, only selective herbicides can be used for their treatment, which work selectively, inhibiting weeds in growth and development, and without affecting the main crop. Of these drugs have proven themselves:
- Titus;
- Zellek is super;
- Centurion;
- Lapis lazuli.
Strictly follow the manufacturer's instructions so as not to exceed the concentration. Remember that herbicides are toxic, so treat with protection: with glasses, a respirator, rubber gloves and heavy clothing, over which you can throw a plastic raincoat.
The most common potato pests are Colorado beetles and wireworm larvae. Complex preparations will be required to destroy them. For example, it is recommended to apply the drug "Tabu" under the tubers right before planting, and immediately after the emergence of seedlings, spray them with means such as "Zhukoed" or "Fitoverm".
To avoid contamination of potatoes with diseases, process them every two weeks using preparations such as "Revus" or "Ordan".
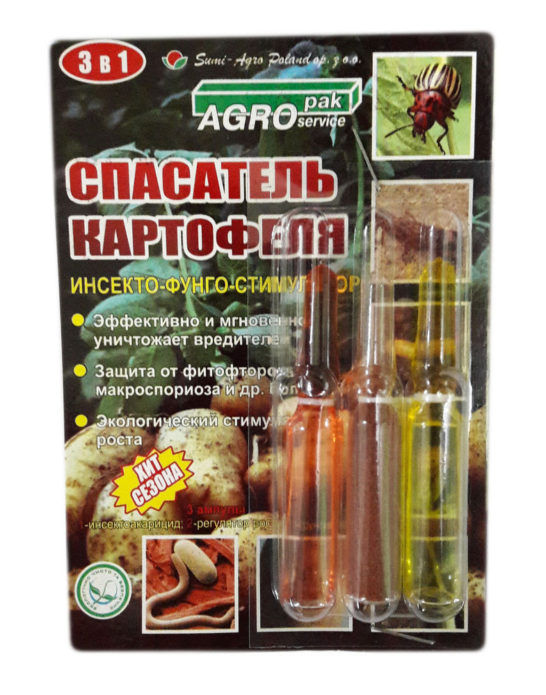
In case of simultaneous damage to the beds by diseases and insects, you should not process the potatoes with a mixture of various poisons. It would be more correct to use a complex insecto-fungo stimulant, for example, the Potato Rescuer. It is a set of three ampoules, which respectively contain:
- insectoacaricide;
- broad-acting fungicide;
- growth regulator.
The contents of all ampoules are dissolved in 1 bucket of water. The resulting solution is used to process the planting at the rate of 10 liters per hundred square meters of area.
Compliance with the watering regime
The accumulation of moisture at the root system can be detrimental to the potato bush. Therefore, watering the crop should be infrequent and strictly correspond to the growing seasons. During the first watering, the plant receives moisture in order to fully form the tops and flowers; the second ensures the laying of tubers after the plant has faded; the third feeds the roots as they grow.
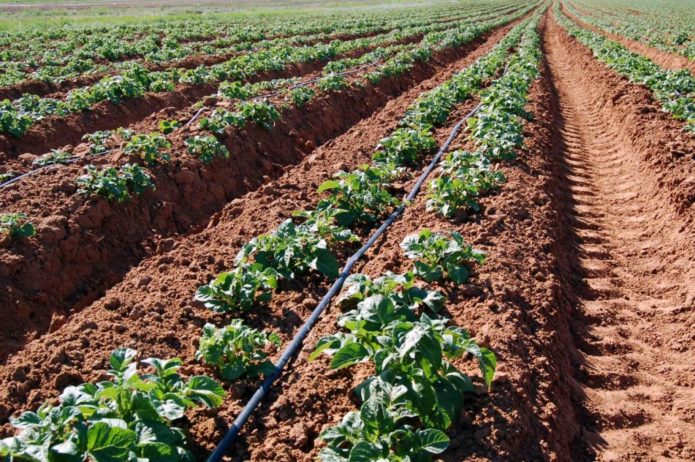
Since the foundation of Dutch technology is the creation of high ridges, traditional direct irrigation can deform them greatly. The best solution would be to lay along the ridges of the plumbing drip system. Thanks to her, the soil will evenly get wet without crumbling.
To understand if watering is sufficient, look at the soil: it should get wet to the height of the ridge, and water with the ground should not flow down. In addition, drip irrigation significantly saves water consumption: moisture passes directly to the roots and is not concentrated between the ridges.
How to harvest
It is desirable to set the harvest time depending on the purpose for which potatoes are required. For example, for seed, you need to collect it in early August. By this time, most tubers have already matured to the degree necessary for germination in the next season. After a month, you can harvest the main crop.
Desiccate before digging out the tubers, about 2 weeks in advance. This is the name of spraying with preparations that dry the tops. You can use the funds:
- Reglon;
- Super;
- Basta.
During the remaining time, the tubers will ripen faster, their peel will be denser, which will significantly increase the safety of the crop and reduce the likelihood of mechanical damage during the collection and transportation of tubers.
How to correctly apply the Dutch method on your site
In order for the system under consideration to be applicable in our vegetable gardens and to give the expected results, it needs to be adapted. First of all, you need to take into account the main mistakes made by gardeners.
- Crop rotation is not respected. Because of this, the soil does not have time to rest, which increases the risk of diseases.
- Poor quality seed is used. If tubers are improperly selected or prepared, they will not yield a high yield.
- Gardeners deliberately reduce the spacing between rows. Thickening of plantings significantly reduces the level of soil warming.
To adjust for successful cultivation in the country, it is allowed to change the method of processing and the tools used for this, but not to change the principles. That is, for loosening the soil, you can use not an industrial cultivator, but a hoe, Fokin's flat cutter, frame or wheeled hand tillers.
You can sprout tubers in any convenient way. Since the planting will be done manually, you can grow the shoots up to 2 cm long without the fear that they will be broken. Once the bushes have sprung up, add a ridge to hide the young growth. Their development will be significantly accelerated due to the saturation of the soil with oxygen. Carry out the next hilling after two weeks. This will be the final formation of the shaft, the height of which will already reach 25–30 cm, the width of the base will be 60–75 cm, and the top 15 cm.
Loosen the soil when the first shoots of potatoes appear and after each rain. To do this, it is better to use a rake, so you can avoid damaging young shoots. First, work the top of the ridge, then scoop up the crumbling shaft walls to restore its shape.
Video: the application of Dutch potato planting technology in the Middle Lane
Dutch technology is recognized as universal, as it is well suited for large farms and gardeners. Despite the significant labor costs, subject to agricultural technology, it will allow you to get an unprecedented harvest of large high quality potatoes. We hope that our tips will help you understand all the pros and cons of this method.
