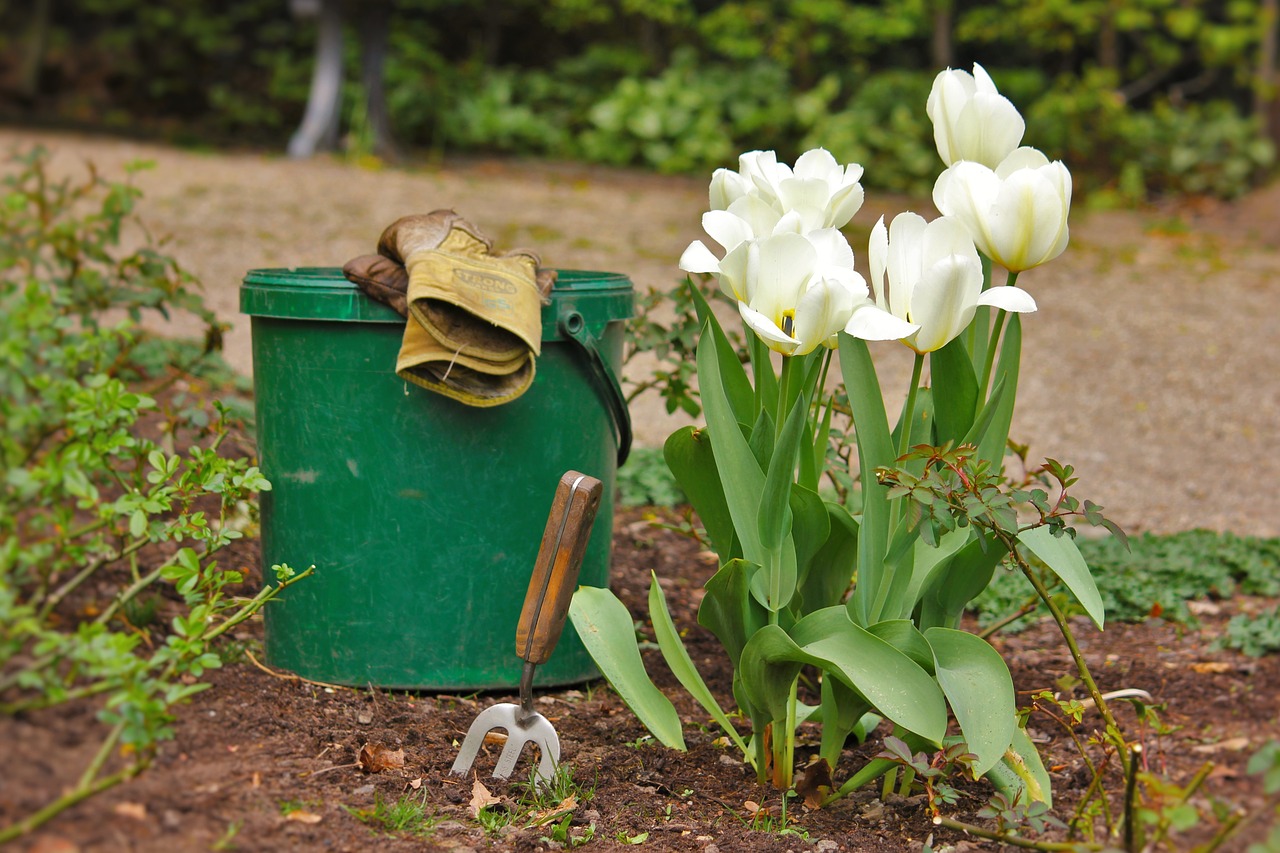
Planting tulips in autumn is a rather responsible event that requires knowledge of exactly when and how to plant the bulbs so that beautiful buds will decorate the flowerbed with the onset of spring. Incorrectly chosen time and violation of the rules for planting tulips can lead to the fact that the bulbs simply deteriorate, making all the work and efforts in vain.
Content
Why is it customary to plant tulips in autumn along with spring
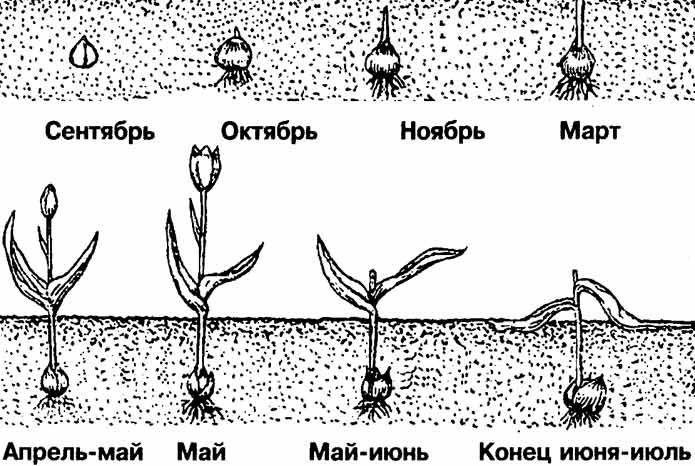
Experienced flower growers recommend planting tulips in the autumn. This is due to the peculiarities of the phases of their growth:
- it is in the fall that the root system is formed, the sprout develops and is saturated with nutrients;
- in winter, all processes are suspended, and the plant is nourished by those reserves that it managed to accumulate during the autumn period;
- in spring, the bulbs begin to come to life. Thanks to the already formed shoots, they emerge quite early. In addition, daughter bulbs begin to grow at this time.
Early shoots will allow you to admire the beauty of tulips for a long time, since their active flowering will take place long before the peak of solar activity, which will save leaves and petals from rapid withering.
Landing dates
If planted too early, they will sprout and freeze during the first frost. If tightened with planting, the bulbs may simply not take root until frost and will also die. Optimum conditions are 8–10 ºC during the day and at least 3 ºC at night.
Landing time depending on the region: table
| Region | Landing dates |
| Moscow and Moscow region | third decade of September - mid-October |
| Leningrad region | second half of September - mid-October |
| Middle lane | mid September - early October |
| Middle Ural | from 10 to 20 September |
| Southern Urals | from September 10 to October 10 |
| Siberia | last decade of August - mid-September |
| South | beginning of the second decade of October - end of November |
| Belarus | mid September - mid October |
How to prepare the beds for planting
Choosing the right place for planting tulips is one of the main preparatory moments.
These plants prefer warm, light-filled, flat terrain and loose, fertilized soil. It is important that it allows moisture to pass through well, and the groundwater lies at a depth of at least 75 cm. If this indicator is lower, then to prevent the bulbs from rotting, it is necessary to provide artificial drainage, which is done using a layer of sand. At the same time, sandy soils for tulips are contraindicated, because they dry out too quickly, which is why the plants constantly lack moisture.
Soil preparation consists of:
- In digging, which is carried out two to three months before the planned planting. At this stage, you can increase the permeability of the soil by adding sand and humus to it. After that, the ground must be leveled, since tulips do not like the presence of holes;
- In loosening to a depth of 25–30 cm. Do not forget to remove all weeds from the ground and leave it for a day in complete rest for the soil to settle;
- In fertilization. They can be either purchased complex fertilizers for bulbous plants, or a self-prepared mixture (per 1 m2), consisting of humus (4 kg), ash (200 g), nitroammofosk (50 g), poultry manure (200 g), superphosphate (70 g). In the absence of humus, it can be replaced with fresh manure, but in this case, planting will need to be postponed for another year in order for the soil to “settle”, and the risk of introducing a fungus harmful to the bulbs is completely eliminated. Wood ash (200 g per 1 m²) or a mixture of dolomite flour and chalk (500 g per 1 m²) is also considered a good remedy.
How to prepare planting material
The storage of the bulbs prior to planting is as follows:
- in a wooden box with sawdust to absorb moisture, the bulbs are placed in one layer (it is advisable to wrap each of them with a piece of newspaper);
- the box is moved to a room where it is dry, good ventilation and the air temperature does not exceed 25 ºC;
- As autumn approaches, the temperature gradually decreases, first to 20 ºC, and then to 15 ºC.
Tulip bulbs processing includes several stages:
- Hulling. To do this, all the bulbs are laid out, carefully inspected and a dry film is very carefully removed from them. This is necessary in order to detect subtle damage, disease or areas of decay on specimens that will be unsuitable for planting. In addition, it will be much easier for the onions freed from the husk to absorb all the useful substances from the ground.
- Sorting. Peeled healthy bulbs are sorted according to their diameter so that they can be grouped by size when planting.
- Disinfection. To eliminate fungi and bacteria, the bulbs are placed in a bright pink solution of potassium permanganate and kept for about 30-40 minutes. After that, you must immediately plant them in the ground.
How to plant tulips - step by step instructions
After the place for planting tulips is selected, the soil is prepared, and the bulbs are processed, you can safely proceed directly to the process itself.
In open ground
The whole planting process is divided into several stages:
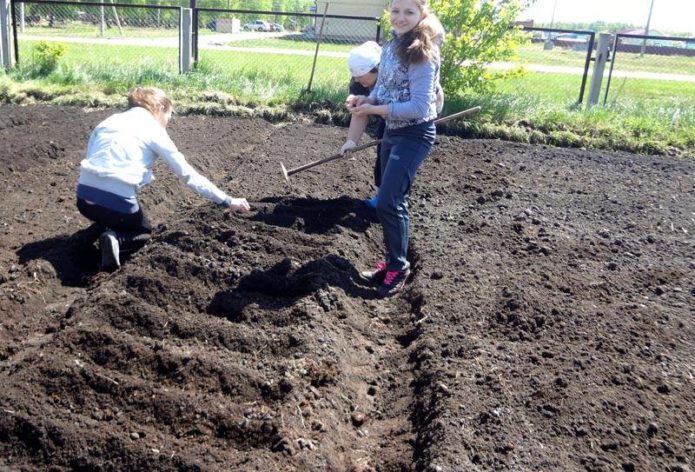
- Marking the selected area.
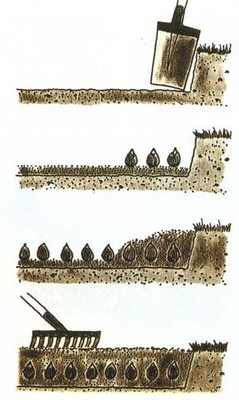
If the bulbs are planted in rows, the distance between them should be 20–25 cm. In each row, a 15 cm deep groove is made using a garden trowel. When planting in a “chaotic” order or if you want to create a certain pattern, the top layer of soil is simply removed from the garden bed. - Accommodation in sand trenches.
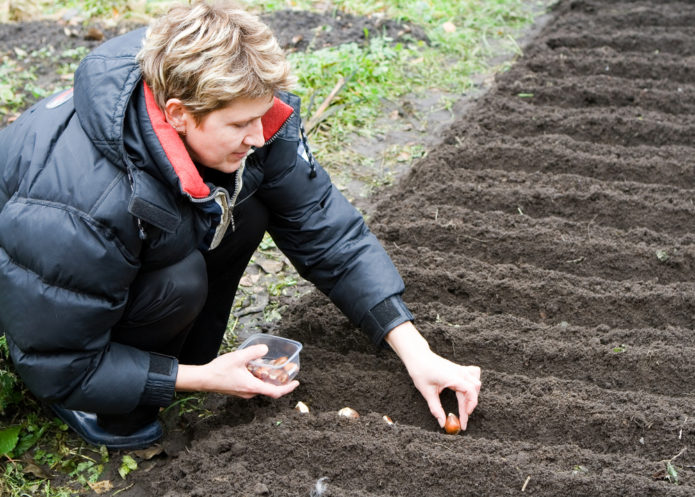
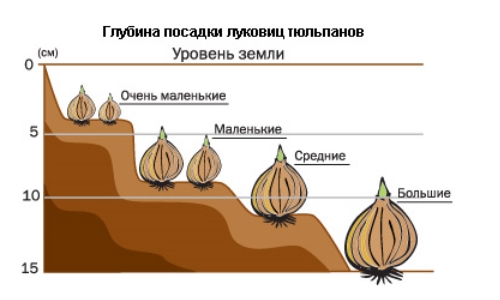
Its thickness should be such that the installed onion can barely hold on to it. This allows you to protect the swollen roots from damage; - Placing the bulbs in the ground.The optimal planting depth is a value equal to three times the height of each bulb (that is, small ones should be closer to the surface, and large ones deeper). The bulbs are lowered with the bottom down slowly, carefully, without sharp pressing and screwing into the ground, so as not to damage the rudiments of the roots. The distance between them should be 8-10 cm. After that, the bulbs are carefully covered with a layer of earth
In boxes / containers
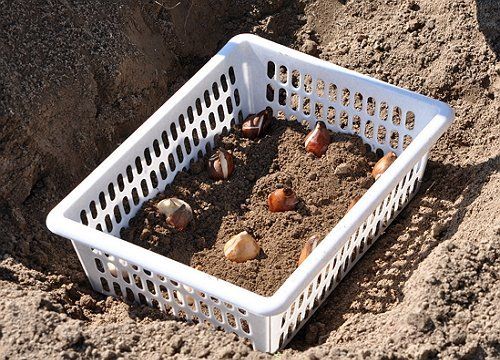
Often, gardeners plant bulbs in plastic boxes (baskets, containers) in order to:
- sort and easily find the necessary varieties (bulbs cannot get confused in the container);
- do not damage the bulbs and their babies when digging up;
- protect from rodents;
- provide plants with loose soil;
- preserve the well-groomed appearance of the flower garden by taking out the wilted plants along with the basket and giving them the opportunity to ripen in a secret corner of the garden.
To plant bulbs in a container, you must:
- Choose a plastic container (basket, container, box) of the required size.
- Cover the bottom with fertile soil suitable for tulips.
- Spread the prepared onions over the entire surface (at a distance of 3 to 10 cm, depending on the size and variety).
- Dig a hole in the flowerbed corresponding to the size of the container and lower it there.
- Cover with soil, the layer thickness of which should be equal to twice the height of the bulbs.
Video: 3 ways to plant tulips
What care to provide after disembarkation
After the autumn planting, tulip care is minimal:
- you need to water the plants only in dry autumn;
- in mid-October, fertilizer can be applied to improve the development of the root system (15 g of ammonium nitrate per 1 m² of soil);
- after a stable subzero temperature is established, the planted bulbs must be covered with a layer of mulch (straw, chopped bark, sawdust or peat), about 3-5 cm thick;
- during winter frosts, the site is covered with spruce branches, and in a winter with little snow, a small snowdrift is formed above it;
- in the spring the spruce branches are harvested and the soil is fed with nitrogen fertilizer (50 g per 1 m²).
Compliance with all the rules for planting tulips in the fall will allow you to get healthy plants by spring. And since these flowers are considered unpretentious, even beginners can take care of them. A little effort, a little attention - and together with the first spring warmth incredibly beautiful buds will begin to appear on the flowerbed.
