Celery is a plant with a bright aroma and original taste. He is considered a natural healer, since the use of this vegetable crop provides the body with a mass of useful elements.
Content
Description of the plant
Celery is a biennial spicy vegetable from the Umbelliferae family. The Mediterranean is considered its homeland. There are about twenty varieties of celery. Outwardly, they are similar, but differ in the growing season. Since the plant is biennial, in the first year only leaves and a root crop are formed in it, and it blooms and gives seeds only in the second year.
The ancient Greeks, considering celery a panacea, depicted it on their coins. And the heads of the winners of sports competitions were decorated with wreaths of its leaves.
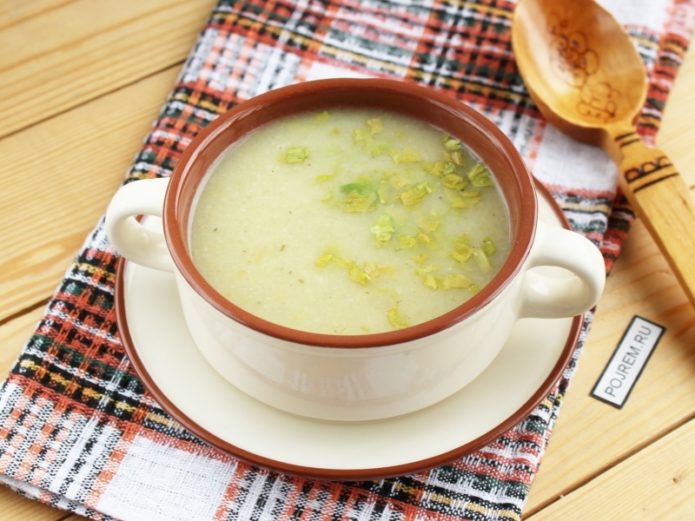
Celery was originally used as a medicinal plant. It contains a large amount of vitamins and other useful substances; now it has become one of the most useful vegetable crops. Celery leaves are used fresh. They resemble parsley, but are more aromatic and spicy. Celery is used as a seasoning in pickles and marinades. Root celery is good stewed and baked, in salads and dietary mashed soups.
Root celery contains a large amount of the amino acid tyrosine, so it can be considered a meat substitute and is beneficial during fasting.
Video: 10 Reasons to Eat Celery Every Day
Types and varieties of celery
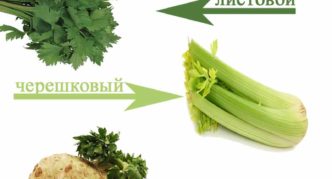
Breeders have shifted the focus of their research from the leaves of the plant to other parts of it. As a result, we now have three types of celery:
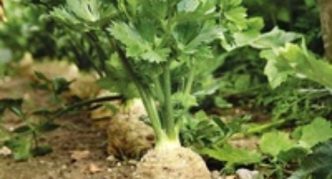
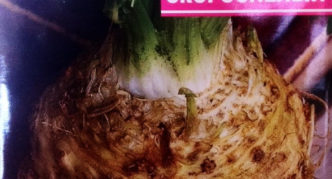
- root celery is a well-developed root crop weighing up to 500 g;
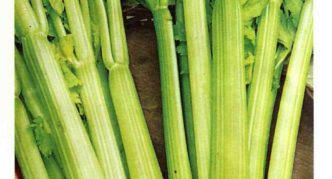
- petiole celery - gives fleshy petioles 3-4 cm wide, without forming a root crop;
- leaf celery - 50 to 200 leaves, collected in rosettes.
Photo gallery: types of celery
- Three types of celery were bred by breeders
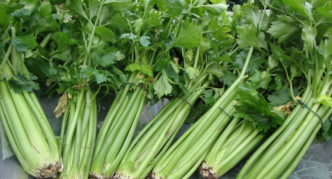
- Leafy celery produces delicate, aromatic greens
- Root celery is famous for its beneficial root vegetable
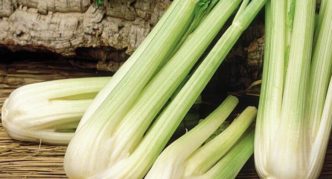
- Stalked celery is popular for its succulent plates and stalks
Celery varieties
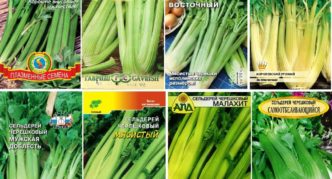
Each type of celery has many varieties that differ in their properties and ripening times.
Photo gallery: some varieties of celery
- Varieties of stalked celery
- Celery leaves of the Tender variety have a strong aroma
- Anita root variety contains a lot of protein, phosphorus and essential oils
- The petiolate variety Pascal forms petioles 25-30 cm long
- The root variety Chernomor is considered early maturing.
- The variety Apple is early ripening, but has a lot of lateral roots
Table: celery varieties, taking into account the growing region
| Region | Root celery varieties | Ripening period | Stalked celery varieties | Ripening period | Leaf celery varieties | Ripening period |
| Middle zone of Russia | Alabaster Gribovsky Anita Apple Albin Diamond | mid-season mid-early early ripe mid-early mid-season mid-early | Atlant Jack Gold Utah Malachite Apple Triumph | mid-season mid-season mid-early mid-early mid-season mid-late mid-late | Zakhar Local Spartan Cheerfulness Tender Samurai | early ripe early ripe mid-season mid-season mid-season mid-season |
| Siberia and the Urals | Anita Russian size Gribovsky Strongman Esaul Egor | early ripe mid-late mid-early late mid-season mid-season | Utah Pascal Malachite | mid-early mid-early mid-season | Cheerfulness Cartouli | mid-season mid-early |
How celery reproduces
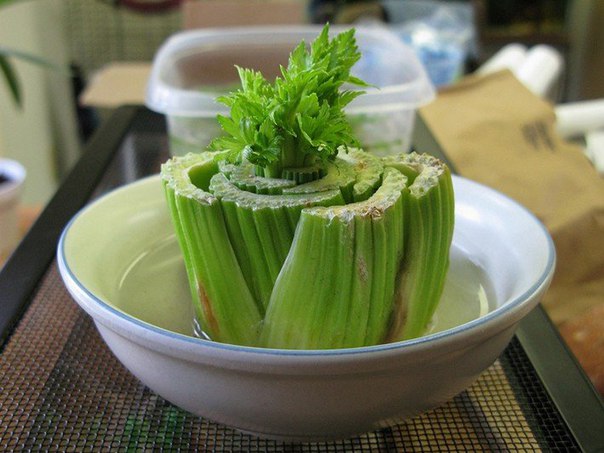
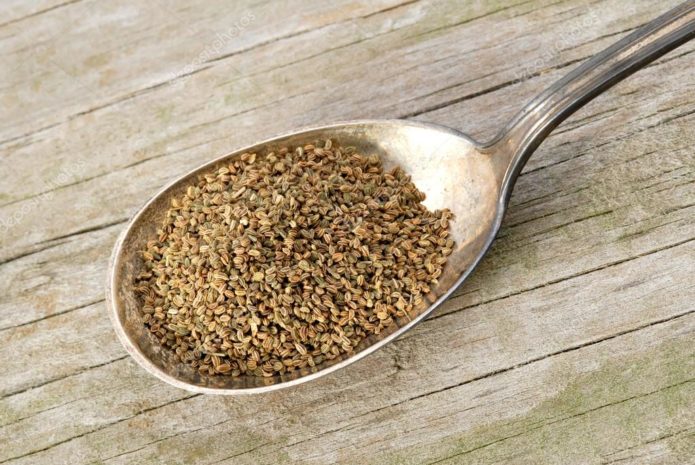
Celery can be propagated by seed and cuttings. From seeds, it is most often grown in seedlings, and seedlings appear extremely slowly. Sowing seeds is recommended as early as late February - early March. Petiolate celery can be propagated by cuttings. It can even be grown from a stump from a store-bought vegetable.
Growing from a stump
If a stalked celery outlet purchased in a store has a fresh stump, devoid of signs of decay, then a new plant can be successfully grown from it at home.
For this you need:
- Leave the lower part of the stump 3-4 cm high.
- Then place the stump in a small container with water at room temperature with the addition of any drug that accelerates root formation (3-4 drops per 0.5 liters of water).
- The container should be placed in a warm, bright place.
- After 3-5 days, roots will appear, and after another week, young leaves will begin to grow.
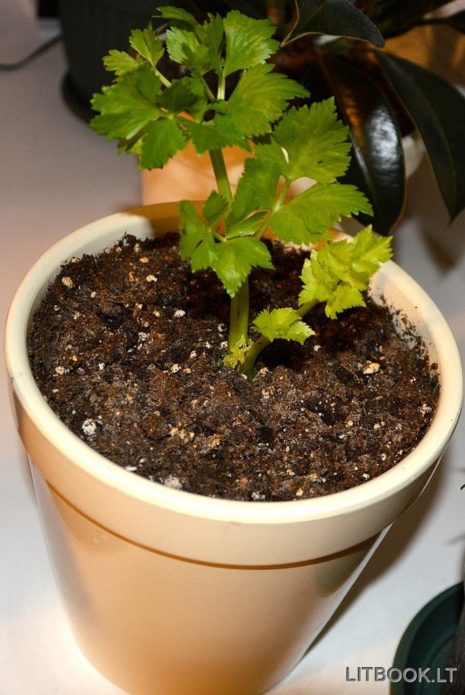
- Now the stump can be transplanted into a small flower pot. For this, a universal floral primer with the addition of perlite (3: 1) is suitable. When transplanting, you need to take care of good drainage (3-4 cm).
- If the planting is done in winter, additional lighting with a phytolamp will be required, which is placed at a distance of 1 m above the plant.
Heat and moderate watering will allow you to cut off the first new leaves in 2–3 weeks.
Video: how to grow celery on a windowsill
https://youtube.com/watch?v=wJKMjGzNorw
Growing from seeds
To grow celery from seeds on your own, preparation will need to begin in February.
Planting seedlings
The reason for the long germination of celery seeds is the high content of essential oils in them. You need to sow seeds already at the end of February (that is, 70–75 days before planting in open ground). To speed up germination, you can:
- Before sowing, soak the seeds for half an hour in water heated to +50 ° C, and then keep them in warm water for two days. To do this, put a damp weave in a small bowl, and pour the seeds onto it. The water should be changed every 3 hours. Then the seeds prepared in this way should be dried in a paper towel to a state of flowability.
- Carry out stratification, i.e. keep the seeds wrapped in a damp cloth for a week at room temperature, avoiding drying out. And then put them in the refrigerator for two weeks.
Once the seeds have been prepared in one of the ways, they can be sown. For this, low seedling boxes are suitable. The soil for this purpose can consist of a mixture of peat (6 parts), sod land (2 parts), humus (2 parts) and sand (1 part). Two days before sowing, to carry out disinfection, you should spill it with boiling water.
The seeds are sown in moist grooves, drawn with a match at a distance of 3-4 cm from each other, without falling asleep, but only by pressing them into the ground. Then the box is covered with glass or foil and placed in a dark, warm place. During the germination period, the soil should always be in a slightly damp state.
Video: how to quickly germinate celery seeds
Care of seedlings and planting them in open ground
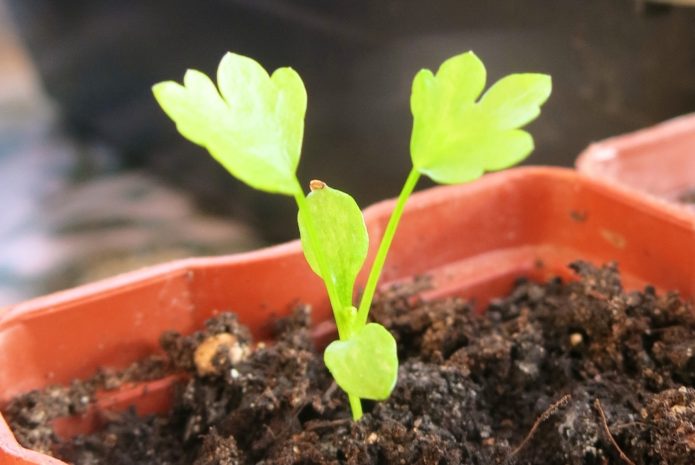
Two to three weeks after sowing, cotyledonous leaves will appear. Now you need:
- remove the film that covered the seedlings;
- pour them with water at room temperature from a spray bottle;
- gently loosen the soil;
- put a box with seedlings on a light cool windowsill.
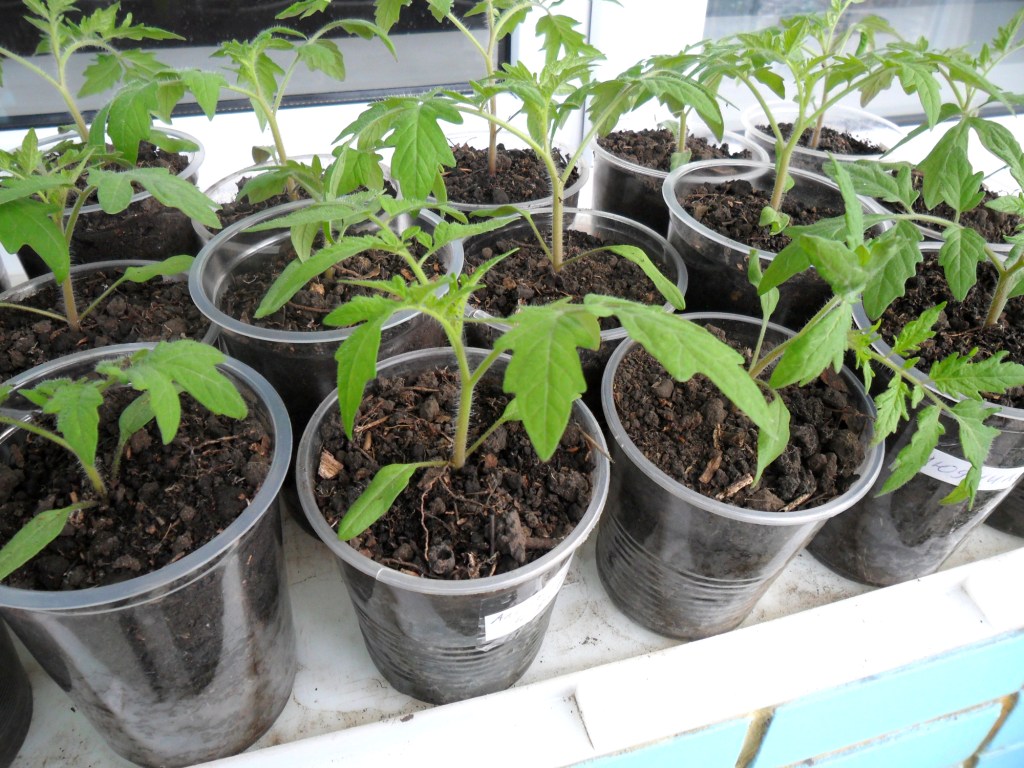
In February, so that the seedlings do not stretch out, it is required to carry out additional lighting. Seedlings need at least 10 hours of daylight. Reducing the temperature to +16 ° C will also help in this. You cannot water fragile plants, you can only spray.
You can pick seedlings after the second real leaf appears. When picking, it is advisable to shorten the seedlings by a third. They are buried to the cotyledonous leaves, while the growth point must be kept on the surface.
Video: picking seedlings
Preparing the soil for planting
Before planting seedlings in open ground, you need to take care of preparing the soil. Celery prefers to grow after legumes, cabbage, onions, garlic on loose, fertile soils. During autumn digging, half a bucket of humus and 20-40 g / m are added to the soil2 phosphate fertilizers (simple superphosphate) and 10-15 g / m2 potassium sulfate. In early spring, loosening is carried out and the second part of mineral fertilizers is applied (10 g of phosphorus and 5 g of potash per square meter).
Leaf and petiole celery will respond well to the introduction of fresh manure, since a high concentration of nitrogen favors the growth of "tops". For the growth of root celery roots, it is necessary that the manure is well peeled.
Landing in the ground
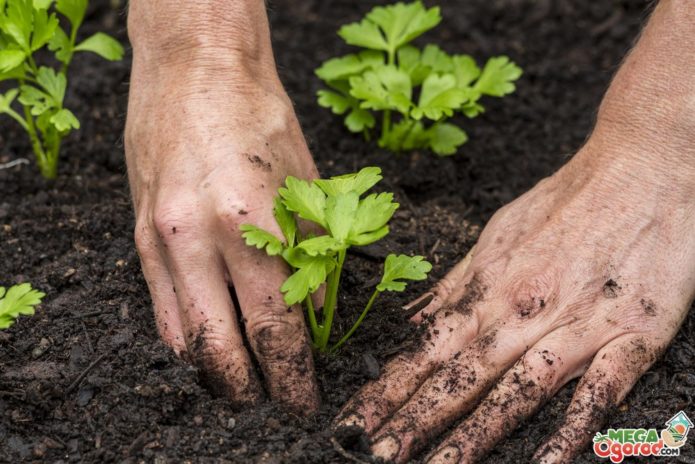
Plants are planted in open ground when they reach a height of 20–25 cm and have 4–5 true leaves. In time, this can occur in mid-May. 2-3 weeks before this, they begin to harden the seedlings, for which they take it out into the street, gradually increasing the period of stay.
Planting pattern: the distance between the holes is 40 cm for root celery and 15–20 cm for other species. The distance between the rows is 45-50 cm. The depth of the hole is 10 cm. In root celery, the growth point should be left at the soil level, and in other species, it should be deepened by 2 cm.
It is better to plant seedlings in the morning; cloudy weather is ideal. Cut off plastic bottles with which you need to cover each bush by night will help protect plants that did not have time to take root from night cold snaps.
Growing conditions
After planting, celery needs to be fully looked after: weed from weeds, loosen the aisles, regularly water and feed. Petiole celery must be hilled twice before harvest.
Root celery should not be earthed. Otherwise, lateral roots may form on it, which will lead to deformation of the main root crop. It is useful to carry out the reverse process: to shovel the earth in the process of its growth.
Water the celery at the root, abundantly. Until harvesting, the soil should be kept moist, so watering is carried out weekly. Uneven watering can cause root cracking.
Two weeks after planting seedlings in open ground, you can feed the plants for the first time. Time for the second feeding - intensive growth of the leafy part, the third feeding is carried out during the period of root crop formation. Mix composition:
- 10-15 g / m2 urea;
- 10-15 g / m2 potassium chloride;
- 40-5 g / m2 superphosphate.
How to grow celery at home
In order to have fresh celery at home in winter, the bushes are dug up with a lump of earth in autumn and planted in flower pots. As a soil, a mixture bought in a flower store is suitable (universal soil EXO, Tomato and pepper).
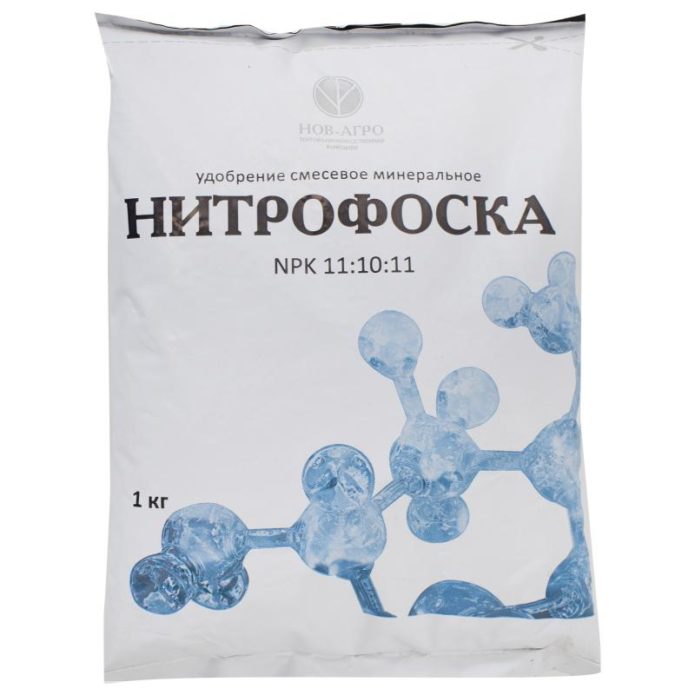
Watering is carried out as the soil dries up in the pot. The plant should be fed every ten days using a nitrophosphate (1 tablespoon / 10 l).
The greens are cut regularly. The optimal size is 12-15 cm.
Stalked celery care
Celery will respond well to feeding with organic fertilizers: slurry diluted in water (ratio 1:10) or bird droppings (1:20). For one plant - no more than 0.5 l of solution. Such feeding can be done once every two weeks.
In the process of growing, petioles require watering and hilling of non-bleaching varieties to leaves.
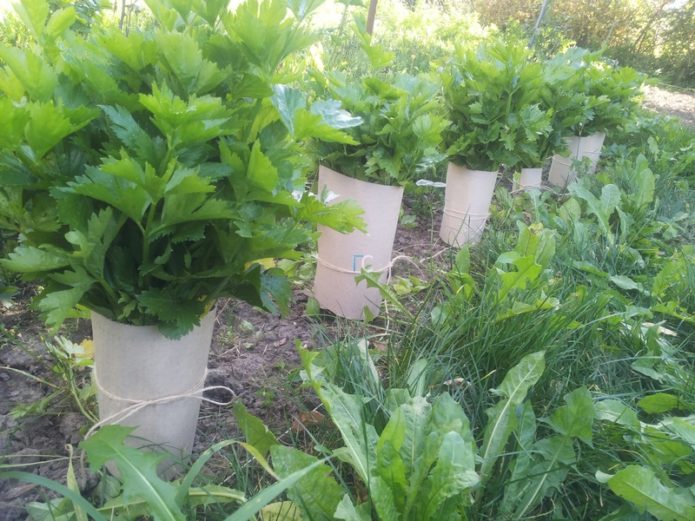
When the petioles reach 30 cm, they need to be bundled and tied. During the same period, they are whitened: weak lateral shoots are removed, and only leaves are left in the sun for the rest. Their entire lower part, which is above the surface, is wrapped in paper. This procedure removes excess bitterness from the stalks and makes them more juicy.
Self-bleaching varieties of stalked celery include: Golden feather, Golden, Tango, Latom.
Celery pests and diseases
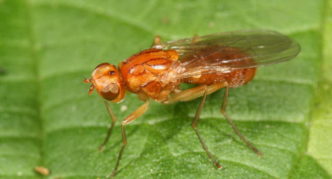
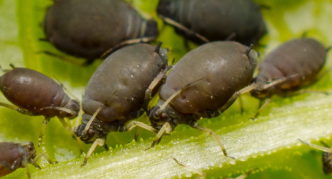
Celery can be exposed to pests, the most common of which are celery fly, carrot fly, carrot flies and bean aphids. Diseases affecting celery are rust, powdery mildew, cercosporosis, and cucumber mosaic.
Photo gallery: celery pests
- Celery fly larvae eat the petioles from the inside
- A mixture of mustard powder and tobacco dust will help with carrot flies
- Carrot lice feeds on celery juice
- Bean aphids do not like strong smells
Table: ways to control celery pests
| Pest | Manifestation of harm | Ways to fight |
| Celery fly | The larvae leave longitudinal passages in the petioles, eating them from the inside | By surrounding plantings with onions or garlic, you can scare away pests. You can spray celery every 2-3 weeks with an infusion of garlic arrows. |
| Carrot fly | Larvae spoil all parts of the plant | A mixture of fine sand, mustard powder and tobacco dust is sprinkled on the garden bed every two weeks. |
| Carrot lily | It feeds on celery juice, as a result, the leaves are deformed and die | A mixture of fine sand, mustard powder and tobacco dust is sprinkled on the garden bed every two weeks. |
| Bean aphid | It feeds on plant sap, which leads to curling and drying of leaves | Infusions of tomato tops or onion husks scare off aphids: 200-300 g for 5 liters of boiling water. Insist for two days, then filter and spray the plants. To scare off bean aphids, you can plant thyme and nasturtium next to the celery. |
Photo gallery: celery diseases
- Rust is harmful to leaves and causes them to die.
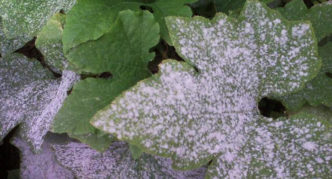
- Powdery mildew infects leaves
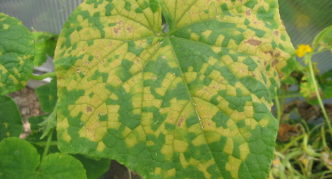
- Sick leaves affected by cucumber mosaic need to be urgently destroyed
- Cercosporosis leads to lagging plants in development
Table: celery diseases, prevention and control
| Disease | Signs | Ways to fight | Prevention |
| Rust | Red-brown pads on the underside of leaves and petioles, developing into red-brown spots. | Application of fungicides: Topaz, HOM, Horus.At an early stage, it is sufficient to carry out 2-3 treatments with a weekly interval. | Spraying with Fitosporin or Bactofit, thinning plantings. |
| Powdery mildew (peronosporosis) | White bloom on all parts of the plant, like scattered flour. | Treatment with a 2% solution of Bordeaux liquid (2-3 times with an interval of 8-10 days). | Weekly spraying of plants with an infusion of horsetail or sow thistle, thinning of plantings. |
| Cucumber mosaic | A viral disease manifests itself in the appearance of large and small rings at the apex. | Plants need to be destroyed. | Vector control: ticks and aphids. |
| Cercosporosis (early burn) | Round spots with a light middle and brown edges. Leaves and petioles dry up. | Spraying with Fundazol or Topsin-M solution. | Compliance with crop rotation, disinfection of seeds before sowing. |
| Scab | Brown spots appear on the roots, the skin is peeling. | Compliance with crop rotation. |
Harvesting and storage
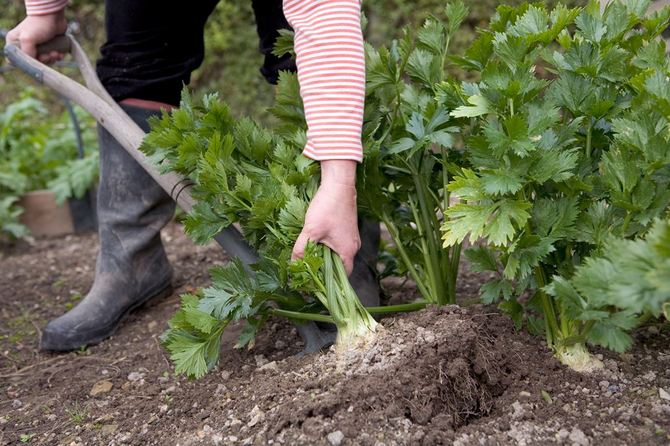
You need to harvest tuberous celery even before the onset of frost. The leaves break off, leaving three to four central leaves. The celery tubers must be dug out very carefully because they have an unusually thin and delicate skin. To make this easier, you can water abundantly the soil around the root crops half an hour before the start.
Before storing, the container can be powdered with chalk. Temperature storage conditions: 0–2 ° С at humidity 90–95%. Root crops should be inspected every ten days.
Among literary researchers, there is an opinion that the love drink for Tristan and Isolde had the following composition: 100 grams of celery juice, to which were added 50 grams of apple and pear juice.
Get to know celery better and prepare from it, if not a love drink, then dishes for good mood and good health. And if you thought you could cope with the requirements for growing it, you can try planting celery in your area.

